
Last Updated on 20th July 2023 by Sophie Nadeau
Sun stars are a cool and effective way of turning a pretty photo into a great one. You may have seen apps that will add sunstars with little or no effort from you, the user. However, natural sunstars always look better (and come with a greater sense of achievement)… And so here’s a quick guide on how to make sunstars!


If there’s one photography technique that can instantly up your shot-taking game and makes your snaps altogether more appealing, it’s creating sunbursts with your camera. Adding bright lights and star effects, also known as a ‘starbursts’ can create a unique effect and add more layers to your images with a few simple steps.
Recently, a friend asked me how I got sun stars in my photos. First thing’s first, as with everything in photography, practice makes perfect! I’m already a massive fan of the puddlegram and have recently started to experiment with sun star features in my pictures on Instagram. They are interesting to see and, given the right weather conditions, always add a little sparkle to your photos.
There is only one basic requirement for being able to creat sunstars: If you can control the aperture number on your camera, then you’re good to go! There are three basic (and easy) steps for how to make sunstars:
If there’s one photography technique that can instantly up your shot-taking game and makes your snaps altogether more appealing, it’s creating sunbursts with your camera. Adding bright lights and star effects, also known as a ‘starbursts’ can create a unique effect and add more layers to your images with a few simple steps. Here’s your quick and easy guide on how to create sunbursts with your camera!


Contents
Step one: The equipment
In order to create sunbursts with your camera, you’ll need equipment which can take photographs manually. To make the most of image quality/ what you can actually do with your photo post-processing, you’ll also want to make sure that you’re capturing all your images in RAW format, as well as in the form of jpegs.
And yes, I know that doing this uses lots of memory space (I personally use SanDisk memory cards), but the amount of control you’ll have over the editing process later makes shooting in RAW well worth the card space. When it comes to which camera to use, I love my Sony A6000. It’s compact, lightweight, and the kit lens it comes with is a pretty versatile lens to learn on.
Step two: Finding your frame
Never look directly into the sun (obviously!) as this can permanently damage your eyes. You should also never point your camera lens or your eyes directly towards the sun as this can damage your lens (again, as well as your eyes!). Instead, find a clear and sunny spot and set up your camera in order to take the shot.
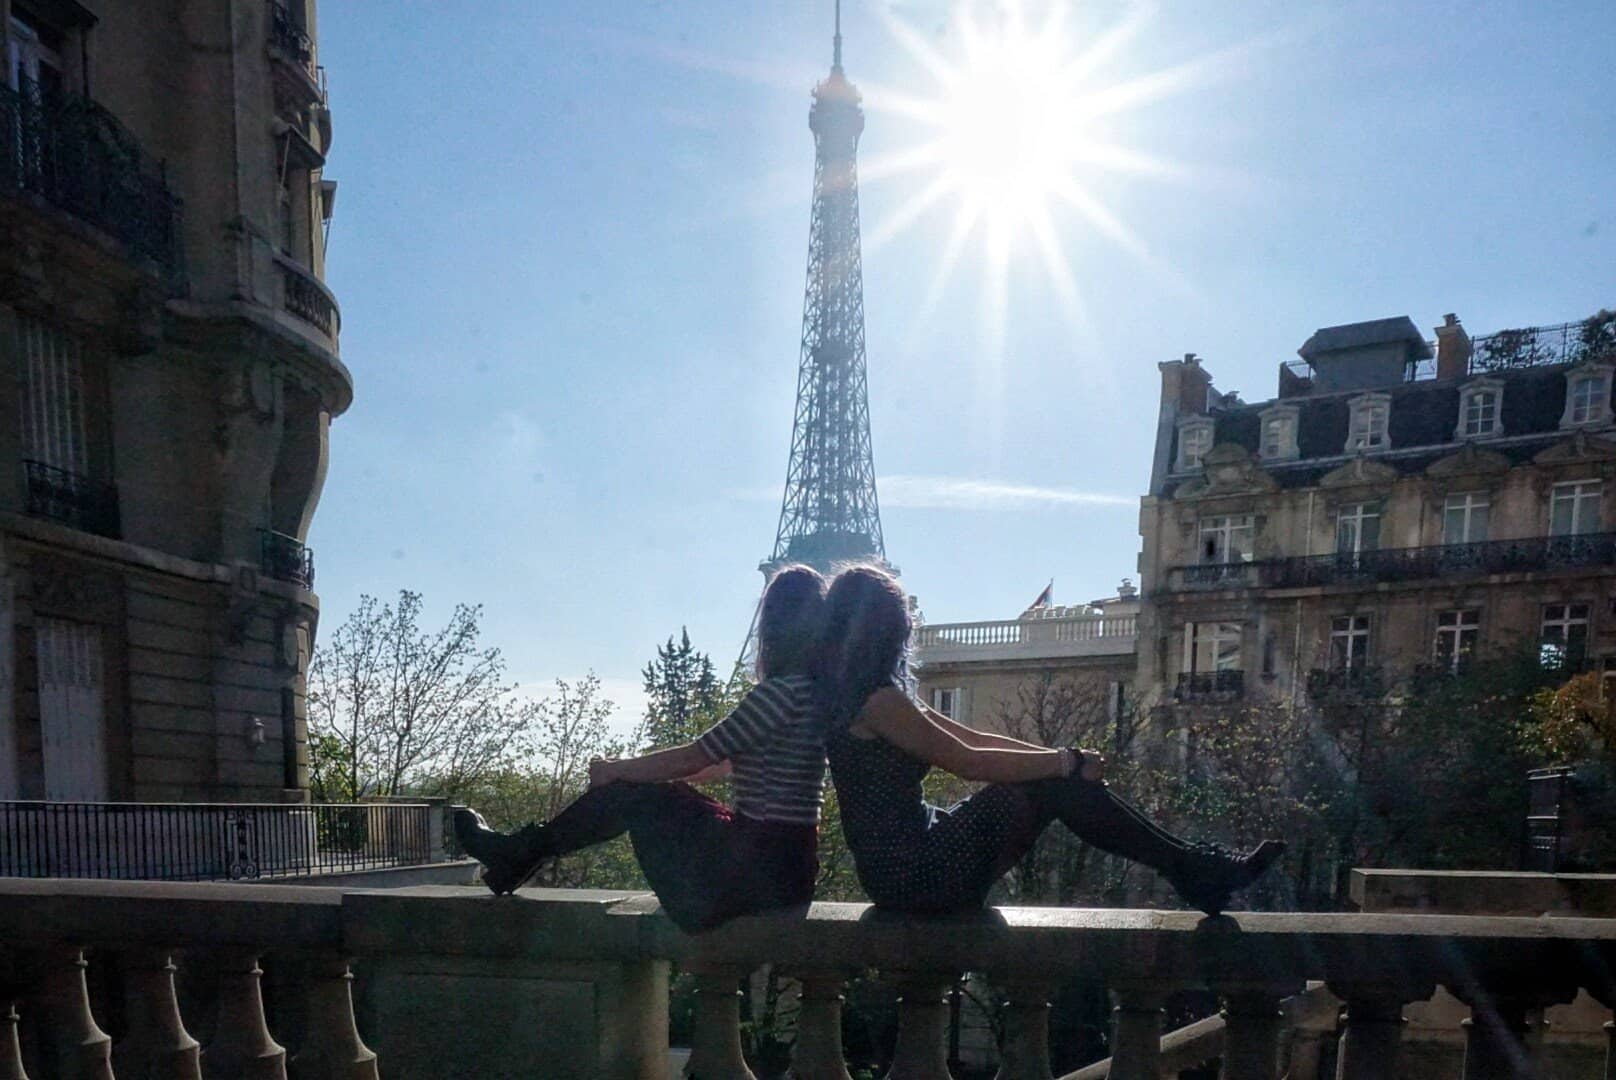
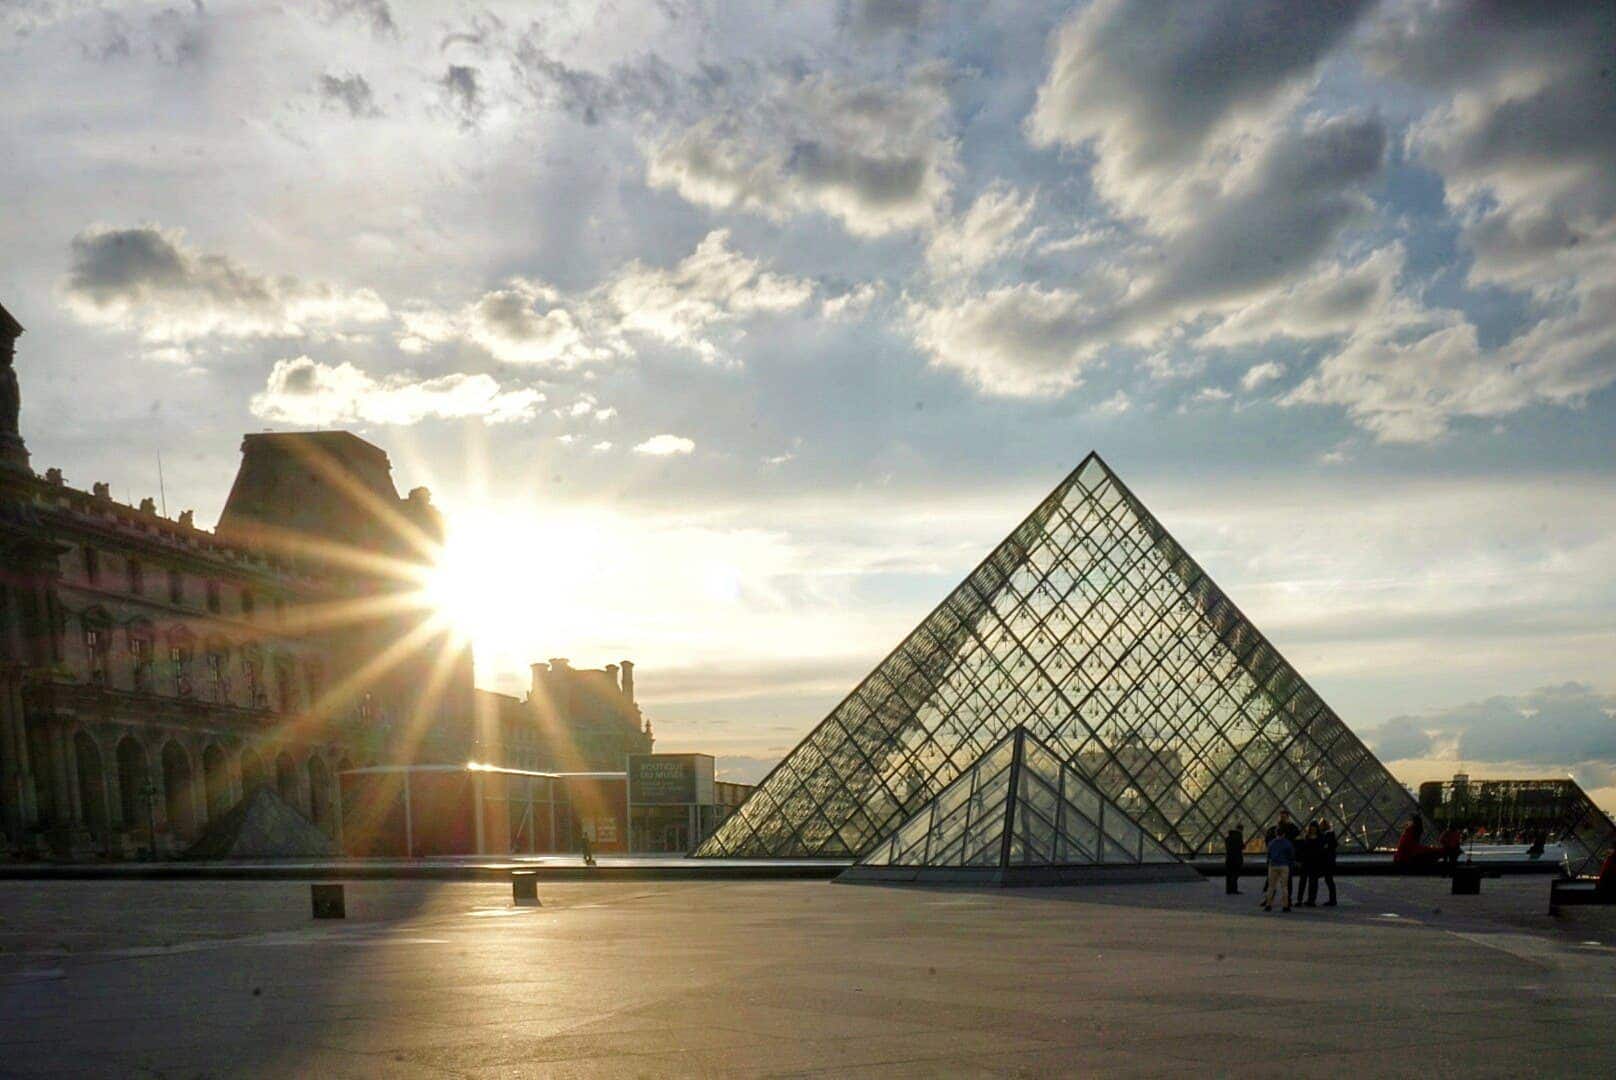
In order to make a full sunburst, the sun will need to be somewhere in the frame rather than just out of the shot. If you’re taking your photos in the daytime, then you may well want to partially block the sun with another object. To make your snapshot more interesting, then you can even do things like play hide and seek with the sun etc.
Although I call this technique ‘creating sunbursts with your camera,’ any light source is a potential to make stars with (as long as it’s bright enough). Headlights, reflected lamps, torches (including the one on your phone), and street lights are all possible light source contenders.


When it comes to night photography, you’ll likely need a slower shutter speed to fully capture the shot and so should invest in a good tripod on which to place your camera. I personally recommend Manfrotto tripods (one of my best friends has one and I’m always asking to borrow it- haha). Investing in a good tripod is essential and please don’t find this out the hard way like me!
While in Poland last year, I was visiting the largest castle in the world with my best friend. I wanted to snap a few artistic shots and was using an incredibly flimsy tripod. Of course, the wind blew, my tripod fell over, and my lens completely and utterly broken! So yes, tripods can be expensive, but they’re not nearly as expensive as having to purchase entirely new lenses…


Step three: Adjusting your camera settings
The most important difference between creating a good sunburst and a great one is your camera settings! If you’re not already doing so, then not using the manual settings on your camera is one of the top photography mistakes you could possibly make.
In order to get a star effect in your photographs, you’ll need to set your aperture (f-number) pretty high. 12+ is normally a good starting point. How the aperture works is that the higher the chronological number, the less the amount of light getting into the lens (confusing, I know!). Without getting too technical, all you need to remember is that the higher the aperture number, the better the starburst effect!
In terms of your other manual camera settings, I recommend setting your ISO to as low a number as possible, in order to reduce noise. I personally try and keep my ISO at 100 or 125. When it comes to shutter speed, you’ll want to adjust for the light; I try and aim for between 1/100 and 1/500. Again every camera is different, as is every light condition. Play around with the settings while you’re trying to get that perfect shot!
Although you can start to create a slight starburst effect around f/12, if your lens goes to a lower f-number (many lenses go to figures in the 20s), then experiment and play around with the settings. Depending on light conditions, the position of the sun etc. the exact aperture number you’ll need to create a sunstar with vary and change every single time.
Step four: Let’s face it, it’s all in the edit!
While many people say it’s all about the capture, it’s just as much about editing at the end if you want a truly great final product. Be sure to invest just as much time- if not more- into editing the photo once you’ve finished.
Points of consideration when editing your photographs include colour saturation, shadows vs highlights and many more. When it comes to editing sunburst photos, you may well also want to increase the contrast, clarity and decrease the exposure in the area where the sunstar is to make it pop out more!
From years of editing photos (and even occasionally selling them!) I’ve found that the best tool out there for amazing effects is LightRoom.
Things to remember when creating a sun star
Focus on Aperture
Sunstars work best in the manual mode where you can control shutter speed, ISO and aperture number (on most cameras, the manual function will be under the ‘m’ on the function dial).
The main trick in creating a sunstar is to push the aperture number as high as it will go. Aperture functions a little like this: the lower the aperture number, the smaller the depth of field and so the more ‘background blur’ you’ll have in your images.
For example, when you see an image of a cake and the background is all blurry, this was taken with a low aperture number. The higher the number, the more in focus everything will be in the image.
For example, in landscape images where everything is in focus, all the way to the boats on the horizon. The aim of pushing the aperture number as high as it will go is to get the sun ‘more in focus‘ and therefore into more of a star shape.
Higher aperture numbers will also less let light into the camera, meaning that the sun’s brightness will be dulled enough to turn it into a star shape.
In order to counterbalance the lack of light as a result of the high aperture number, you’ll have to use a longer shutter speed. This will occasionally mean that you’ll need a tripod (particularly at low-level lighting settings such as dawn and dusk) in order to avoid shaky camera lenses!
Unless it can’t be avoided, I normally try and keep the ISO levels down to a minimum to avoid noise and make the post-processing easier later on. Incidentally, I always shoot RAW so that I’ll have an easier time when post-processing the photos later on. I also try and underexpose my photos as it is ten times easier to bring out detail rather than trying to add detail that was never taken in the original capture.
Work when there are blue skies
The weather is a key element in being able to make perfect sunstars. This is because Sunstars exclusively require cloudless skies; even a thin layering of cloud can diffuse the light, ensuring that the sun is not strong enough to create a ‘star’ shape.
Play around with perspective
They say that practice makes perfect… and ‘they’ are not wrong. When you’re learning how to make sunstars, make sure to practice sunstars whenever you have the opportunity and don’t be afraid to play around with perspective.
Although any aperture camera will be able to take sunstar pictures given the right conditions, the wider the camera angle lens, the better. This will allow you to compose your sunstar images more easily during the middle of the day when the sun is higher in the sky and further away from the horizon.
Sunrise and sunset (otherwise known as ‘golden hour”) are the easiest times for incorporating sunstars into your photos as the sun is lower down in the horizon and so easier to add into your composition.


Sophie Nadeau loves dogs, books, travel, pizza, and history. A Francophile at heart, she runs solosophie.com when she’s not chasing after the next sunset shot or consuming something sweet. She splits her time between Paris and London and travels as much as she can! Subscribe to Sophie’s YouTube Channel.
Valeria
Wednesday 28th of September 2016
Very nice tip and blog. Good job, congrats =)
The Breakaway Belle
Sunday 14th of August 2016
So glad I found your tips :) Hopefully I can get some sunstars in my pics! x
Len Parent
Tuesday 14th of June 2016
Amazing photos! Thanks for sharing darling! Happy Monday! much love, Len http://www.lenparent.com